Colours, palettes and swaps
Consoles draw sprites through palettes: a few colours that a sprite's pixels pick from. On the Mega Drive a palette holds 15 colours plus transparent, and the sprites on screen use up to four palettes at once. Because a pixel only says which colour of its palette it is, the same art can show in other colours just by changing the palette: a guard in other clothes, a hit flash, the second player.
The Palettes tab holds the project's palettes, the palette swaps that recolour them and the colour cycles that make colours move.
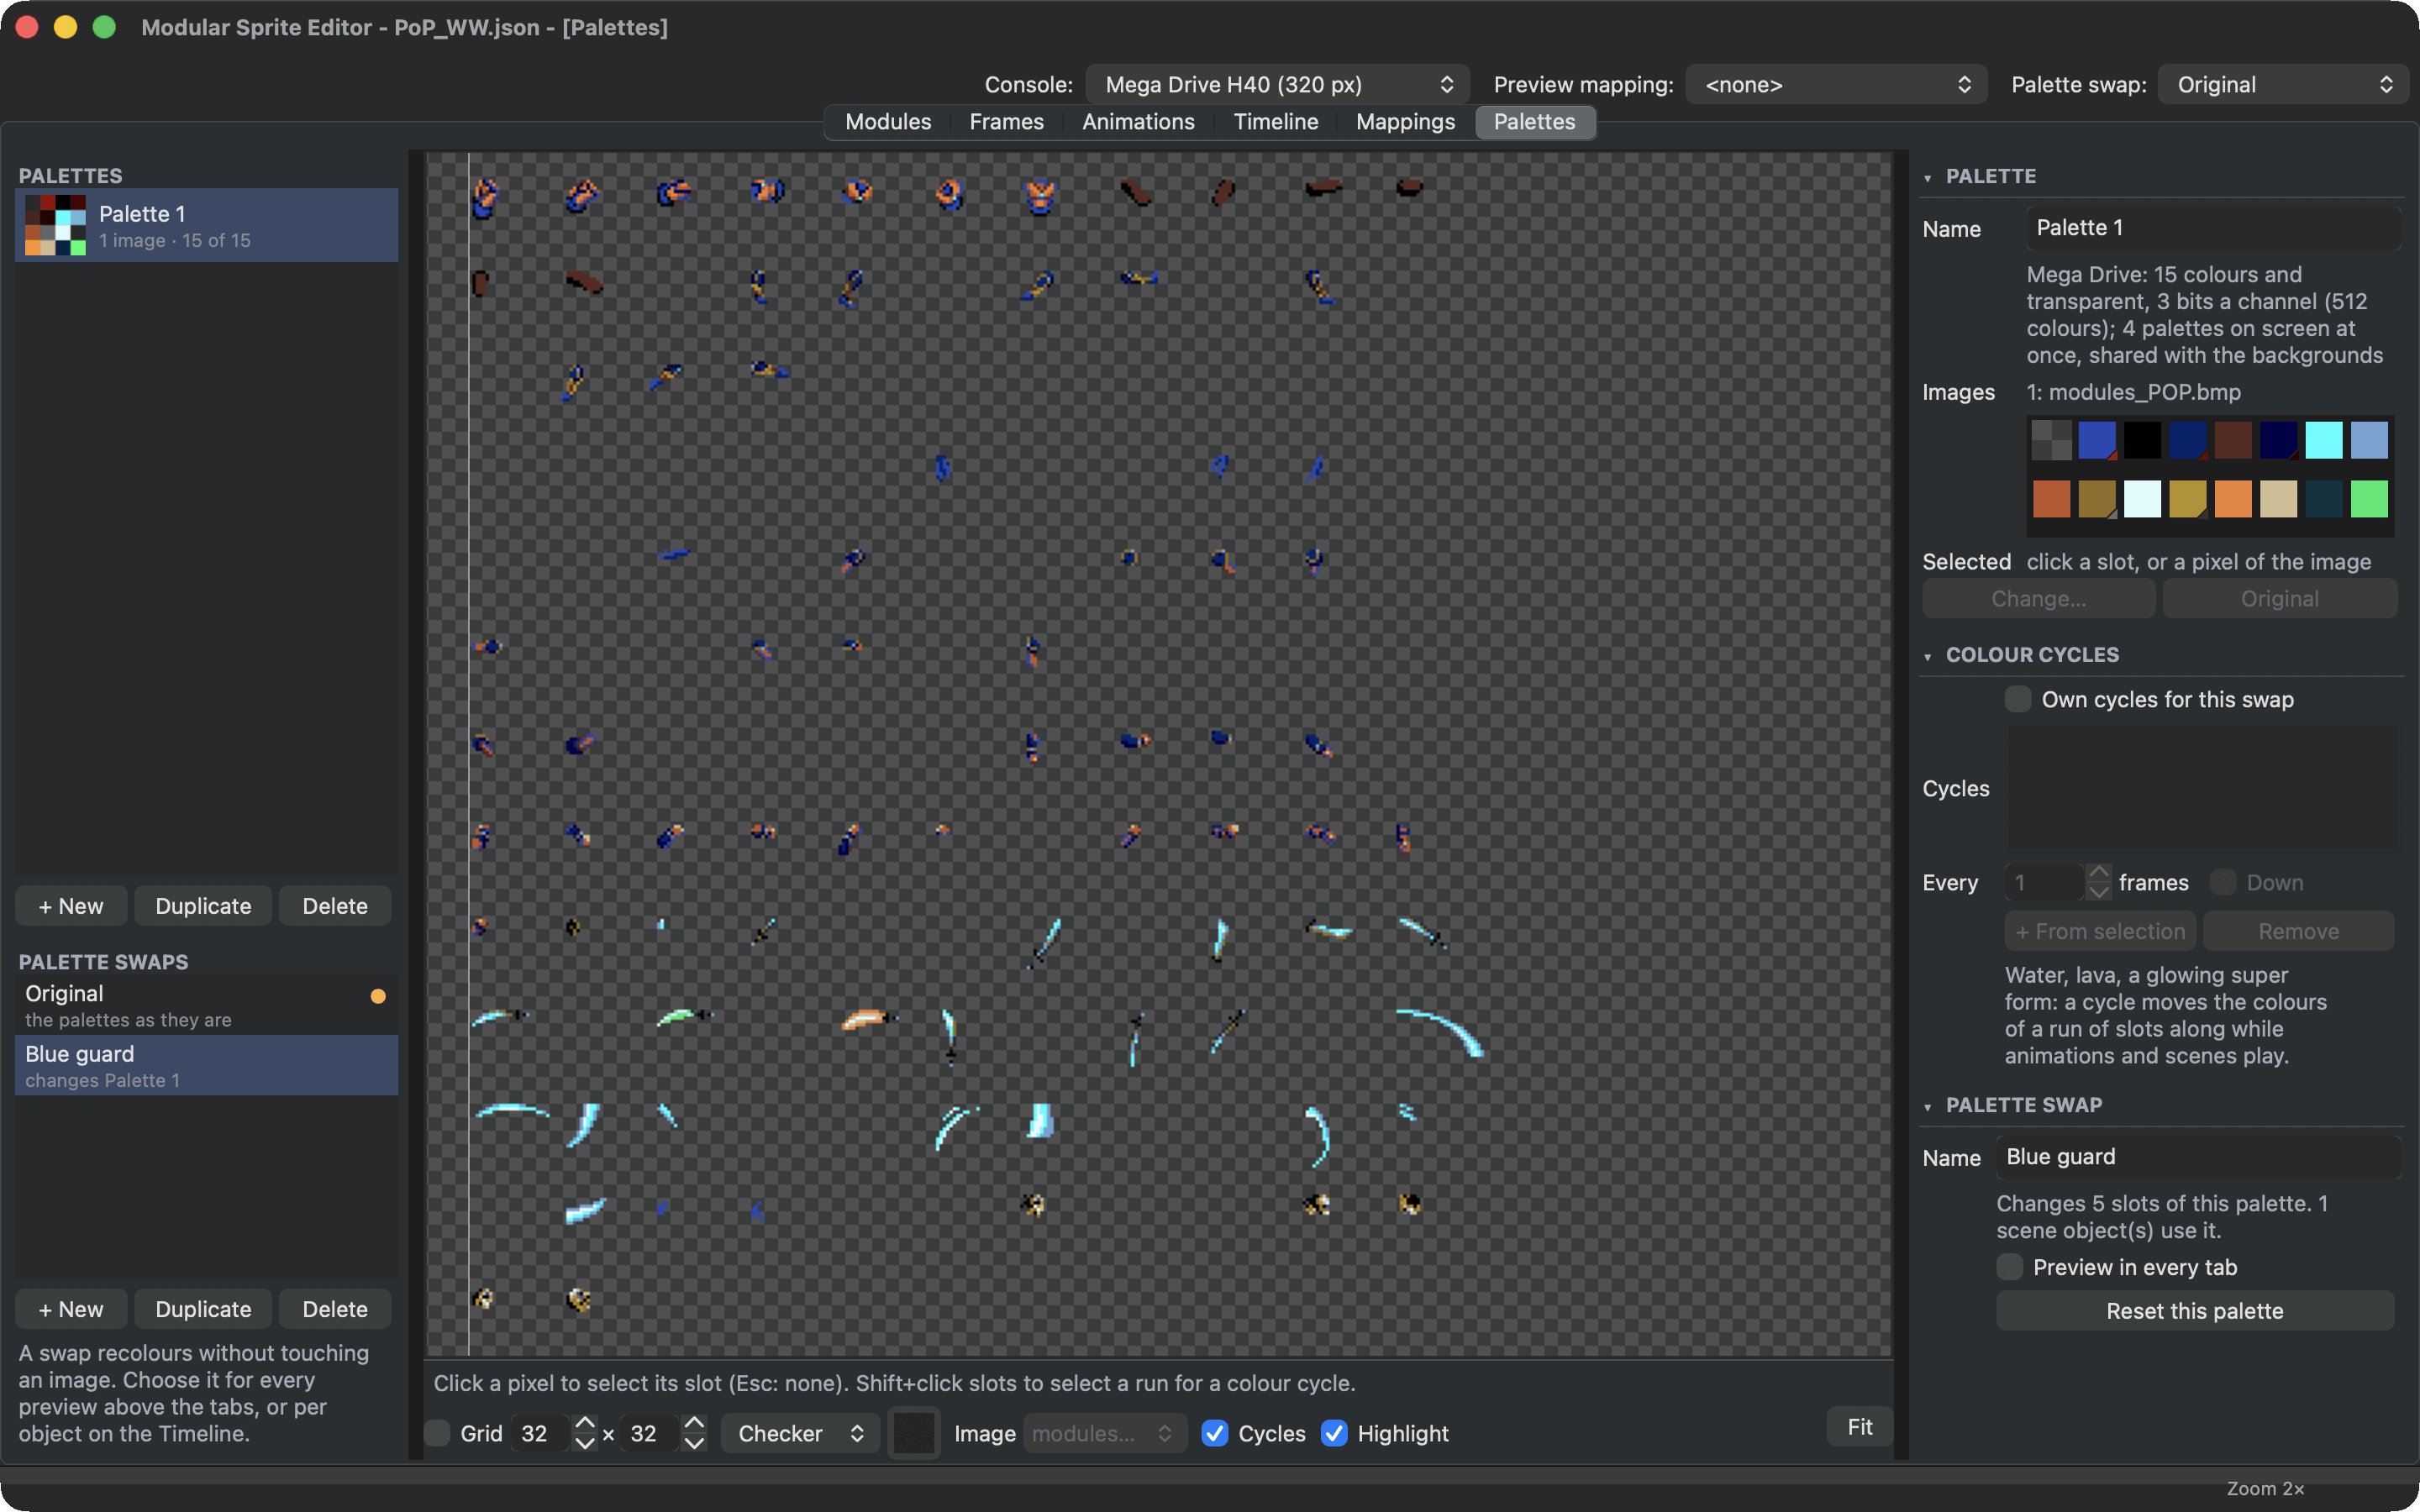
Palettes and their slots
Every image belongs to a palette. Choose it in the Modules tab: select the image and pick its Palette in the inspector, or New palette... for one of its own. Images in the same palette share its colours.
A palette's colours sit in numbered slots, in the order you see in the inspector, and they stay there: palette swaps and colour cycles refer to slots, and the console stores them in this order. When an image joins a palette, or changes on disk, the colours it uses that the palette lacks go into free slots.
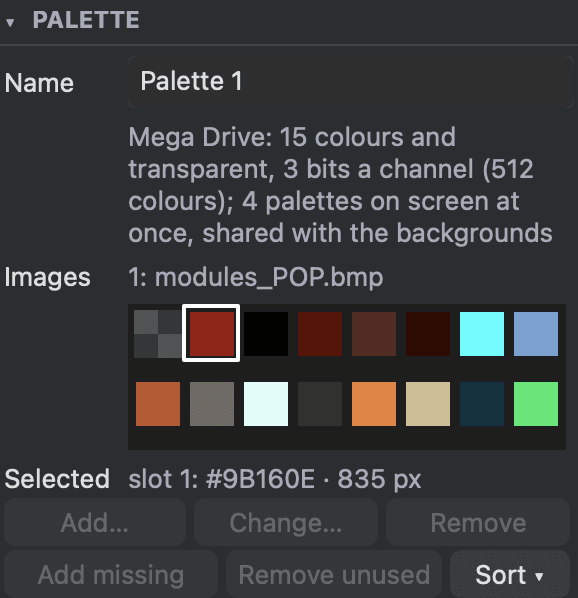
- Click a slot to select it: the preview keeps the colour of the pixels that use it and fades every other pixel to a grey ghost (turn Highlight off in the view bar to see the image as it is). Or click a pixel of the preview to find its slot. Click the selected slot again (or press Esc) to select none and see the whole image. Shift-click selects a run of slots.
- Change... (or a double-click) gives a slot another colour. The editor snaps it to a colour the console can show. A slot your images use keeps its colour: recolour the art with a palette swap instead, so the original stays.
- Add missing puts the colours the images use that the palette lacks into free slots. Remove unused removes slots no pixel uses, and Sort orders the slots dark to light, by hue or by how much they are used.
- Drag a slot to move it. Swaps and cycles move along, and so do the pixels: nothing changes on screen.
Tools ▸ Check Project warns when a palette has no room for its images' colours (those pixels take the nearest colour, on the console too), when its slots lack a colour its images use, with a fix that adds them, when it holds more colours than the console shows, with a fix that keeps the most used, and when two slots hold the same colour.
Palette swaps
A palette swap recolours slots without touching any image. Make one with + New under Palette swaps, select it, select a slot and choose Change...: the slot shows the new colour under this swap. Original gives the slot its palette's colour back. One swap can change several palettes.
Use a swap where you would otherwise copy and recolour a sheet: the second player, an enemy in other clothes, a flash when a character is hit, poisoned skin. On the console a swap costs no video memory: the art is stored once, and the game picks the colours when it draws.
Swaps are chosen the way mappings are:
- For the preview: Palette swap above the tabs, or Preview in every tab in the swap's settings. Every canvas, thumbnail and export then draws with it.
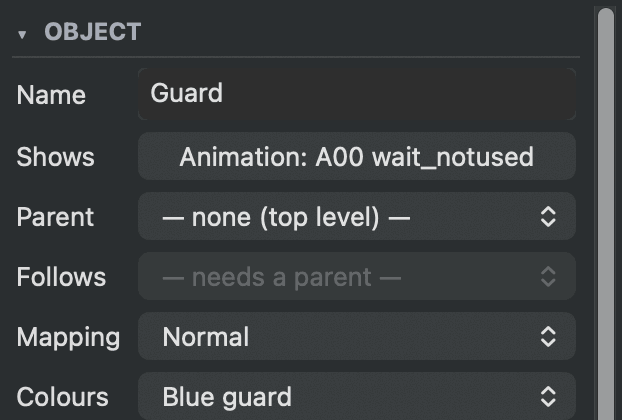
- For a scene object: Colours in the Timeline inspector. Inherit takes the parent's swap (at the top level the preview's), Original the palettes as they are, or choose a swap. Mapping and colours are independent: the guard in the Swordfight example uses the Normal mapping and the Blue guard swap.
- In the game: the programmer picks the swap when drawing each character.
Colour cycles
A colour cycle moves the colours of a run of slots along, one slot every few video frames: water that flows, lava that glows, a super form that shimmers. Shift-click the run of slots and choose + From selection in Colour cycles. Every sets how many video frames each step lasts (60 frames make a second), and Down turns the other way.
Cycles turn in the Palettes tab (turn Cycles off in the view bar to stop them) and while animations and scenes play. A palette swap runs its palette's cycles, or cycles of its own (Own cycles for this swap). In the game they turn the same way.
See what the console shows
View ▸ Console Colours (Cmd+Shift+P) shows every canvas the way the console will: each image through its palette, in the colours the console can show (512 on the Mega Drive), and half-transparent pixels fully opaque, as the console has no half-transparent sprite pixels. Turn it on before you export to spot merged colours and small colour shifts.
Choose the console
The palettes follow the console your project is made for. Choose it in Console, above the tabs: Mega Drive, SNES, NES, Game Boy Advance or Game Boy, each with its setup (screen mode or sprite sizes). It decides how many colours a palette holds and which colours a slot can take:
| A palette holds | A slot's colour | |
|---|---|---|
| Mega Drive | 15 and transparent | one of 512 |
| SNES, Game Boy Advance | 15 and transparent | one of 32,768 |
| NES | 3 and transparent | one of the console's 64 |
| Game Boy | 3 and transparent | one of its 4 shades of green |
On the NES and the Game Boy, Change... opens a grid of the console's colours to pick from. The NES's are numbered $00 to $3F, the way programmers write them.
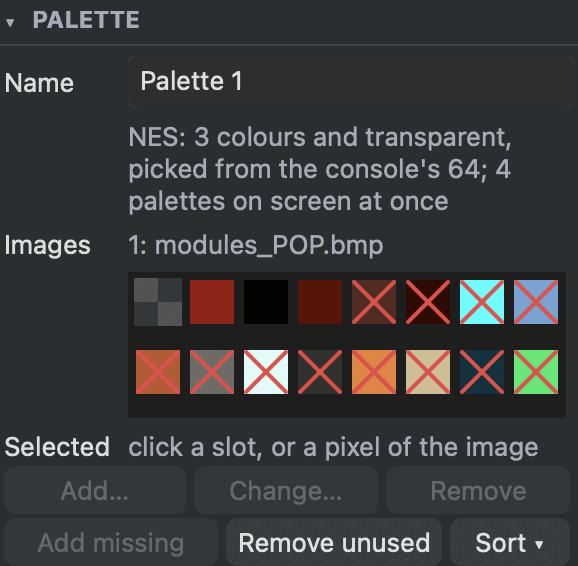
When you switch to a console with smaller palettes, palettes with more colours than it holds can Keep the Most Used, the colours their images use most, or Keep All. Then the console shows the first colours of each palette, and the others wait in their slots, crossed out, for a console with bigger palettes. Drag a crossed-out colour to an earlier slot to show it instead, or let Check Project keep the most used later.
The editor exports for the Mega Drive and the SNES so far, and each export makes palettes for its own console: the Mega Drive export of a project made for the NES makes Mega Drive palettes, in the colours the Mega Drive shows, and its report says so. Consoles lists what the editor knows about each console.